Logo Design

CUSTOM LOGO DESIGN

FIRST IMPRESSIONS COUNT

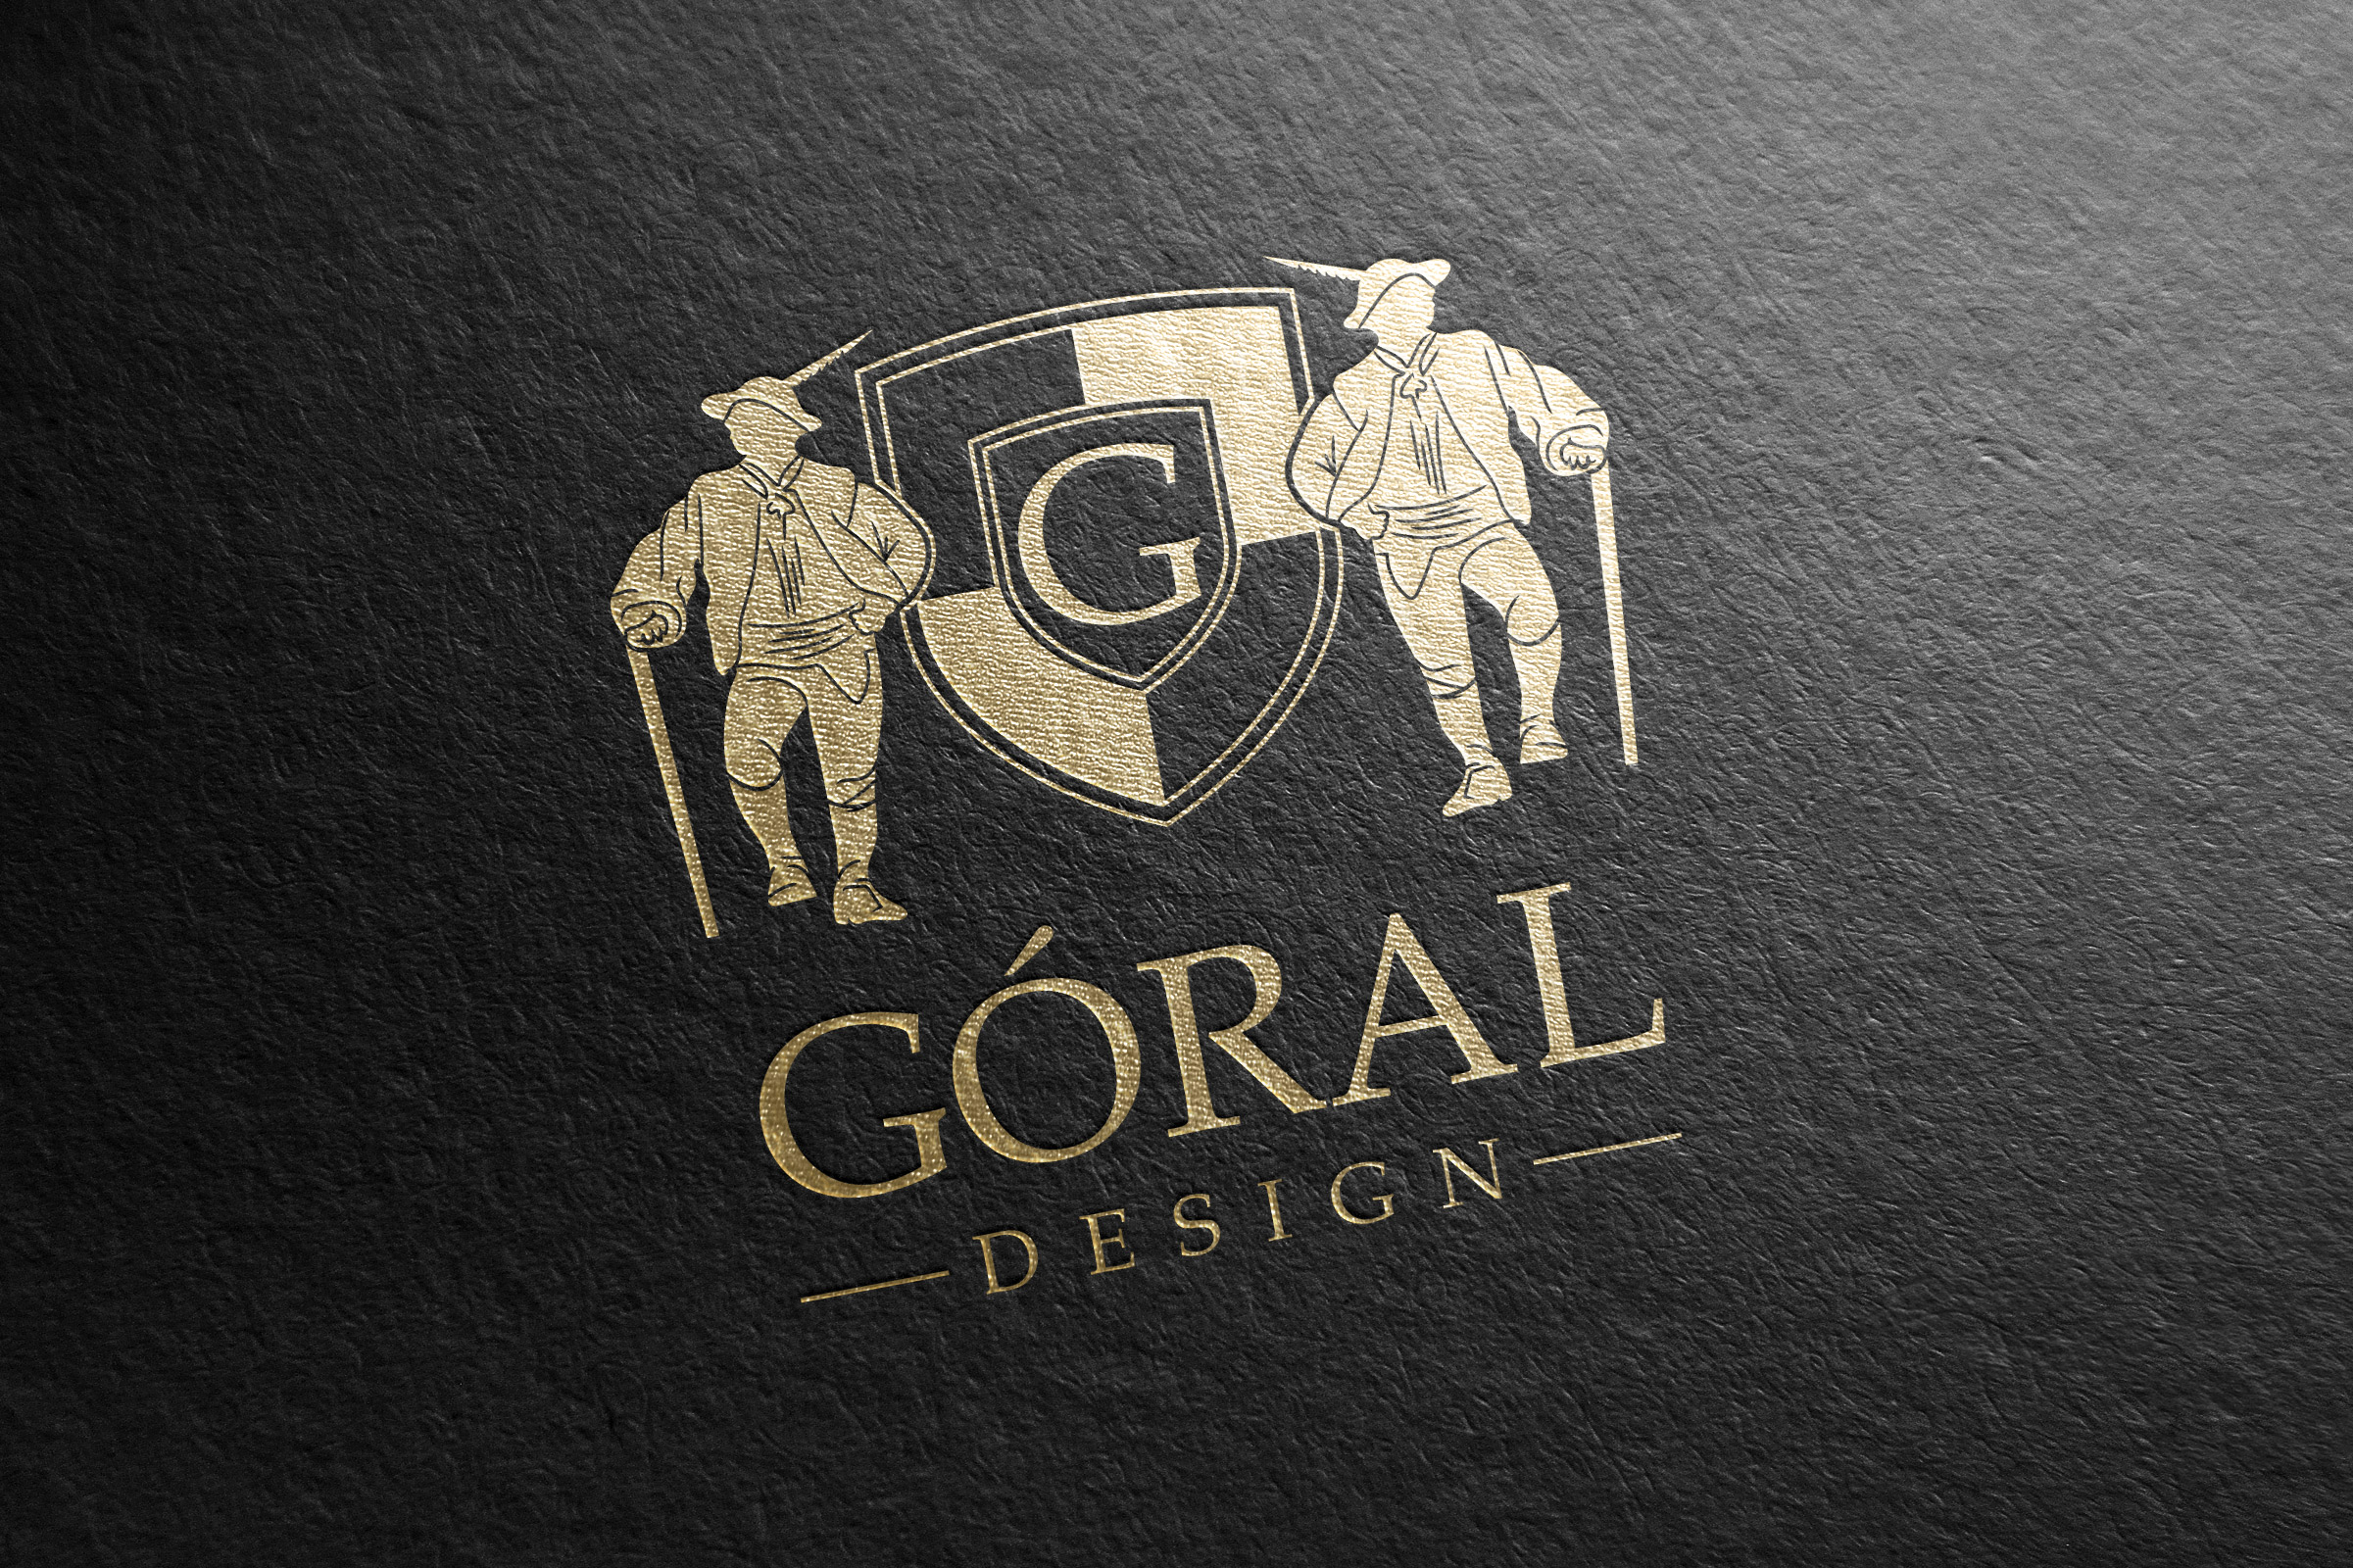
Our logo creation process involves identifying your company’s goals, objectives and the message you want to communicate to your audience. Once we identify these metrics, we create unique hand-drawn concepts to choose the basic structure of the logo. Following revisions on the approved concept, we digitize the logo and start complementing the logo with typeface and colour palettes that reflect your brand. It is now standard to have alternative logos for dark and light options. All our logos are created with RGB, CMYK, Pantone and Web Safe Hex code brand colours. The full package contains brand typeface names and usage instructions.

Graphic design print and web

TYPICAL LOGO DESIGN PROCESS

Logo Discovery

It starts with our logo discovery questionnaire. This helps us to understand your company’s identity. Critical information gathered to ensure the final concept is exactly what you are envisioning.

Research

Here we brainstorm ideas, logos that you may like, significant symbols that you feel match your brand’s identity.  This step is vital before stepping into initial drawings.

Conceptualize

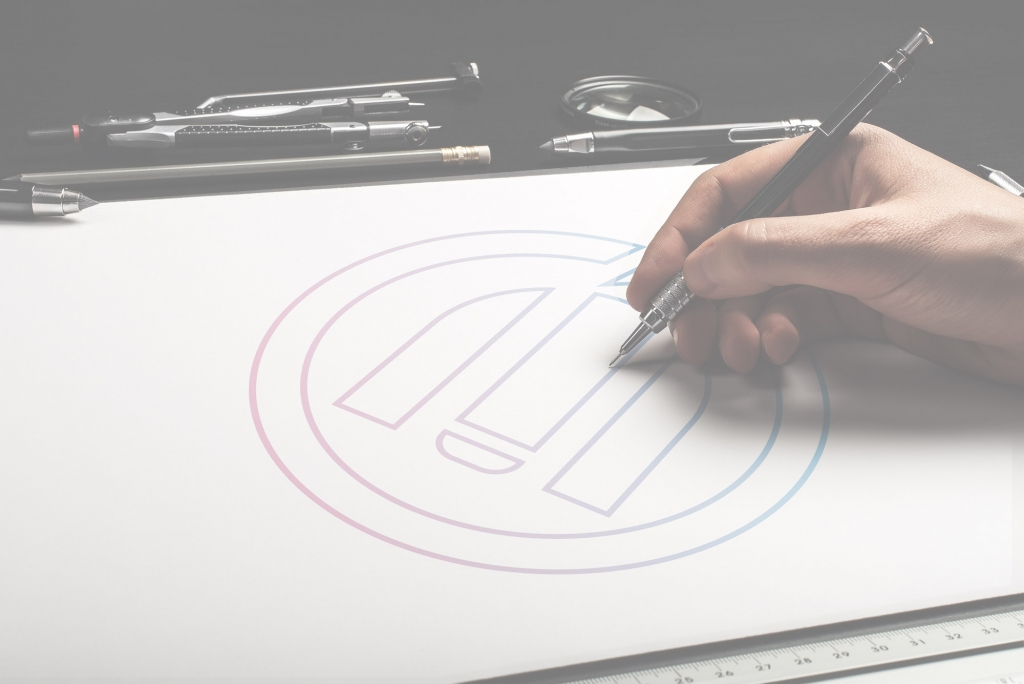
We start by hand drawing all of our ideas to get an initial feel of the logo.  This will give us the clarity required before making our reflections and revisions.

Launch

We deliver fully vectorized logos in both AI (Adobe Illustrator) and PDF (Adobe Acrobat) format.  Along with those you will get the classic JPG, PNG and SVG files to suit your needs.

Logo & Branding Packages

Ready to get started

Classic

Basic Logo Package
$ 250 +HST
  • 3 Custom Logo Concepts
  • Responsive Logo
  • Up to 2 revisions
  • 1 Redraw
SALE

Premium

Popular Logo Package
$ 450 + HST
  • Everything in Classic
  • Up to 3 Revisions
  • 2 Redraws
  • Dark & Light Versions
  • A Two-Type Typography Set
Popular

Ultimate

Professional Logo Package
$ 750 +HST
  • Everything in Premium
  • Unlimited Revisions & Redraws
  • A 6 Colour Defined Palette
  • Brand Guideline
Best DEAL

Want to get started?Fill our Our Logo Questionnaire to help us understand your brand a little bit more.

Artwork Upload Instructions

Your files will be processed by a DEMG pre-press technician to maximize print quality and guarantee results.

  1. Accepted file formats – We accept files in pdf, .jpg, ,.jpeg, .png, .psd, .eps, or .ai.
  2. Colour Profiles – RGB vs CMYK? While some printers can print in RGB mode, the conversion process to CMYK may produce unexpected results. It’s recommended to use a CMYK profile to match the printer process Ensure that your PDF is high resolution and that all images are using CMYK profile at 300 DPI.
  3. Fonts – All fonts must be outlined (not embedded). This avoids us having to find your font’s when prepping your file for print.
  4. Dieline’s must be a single path stroked using a separate spot colour called Dieline and should be on its own layer.
  5. Vector Graphics – Please provide vector only artwork for type, logos, shapes and all other artwork. Only provide embedded raster artwork for actual 4/C images.
  6. Black & Rich Black – Black type should have the following values: CMYK 0/0/0/100. For “Rich black” we recommend using CMYK 40/40/40/100.
  7. Trim & Bleeds – The trim size of the Illustrator file must match the final trim size of the label. For bleed, we recommend a minimum of 0.125 inches all around.
  8. Double Sided Printing – Files must be submitted with the correct orientation to ensure proper back up.
  9. Spot UV, Metallic Foils & White ink printing – For orders with custom finishing please supply a single file for your CMYK printing (if necessary) and a separate file with your spot UV layer representing the custom finish. Remember to set overprints on any Dieline.
  10. Unnecessary Objects – Make sure to DELETE any hidden layers that are not intended to print (ie: setup guides, unused layers or other hidden elements) to ensure no risk of them appearing on the final print.  Please note that form fields, comments, or annotations in PDFs will not be printed.
  11. Borders – It is best to try to avoid using borders in your design. If a border is too close to the trim, the trim may be slightly off-center.